
Troubleshooting Puck Screen Indentations, Shower Screen Screw Collisions & Channeling
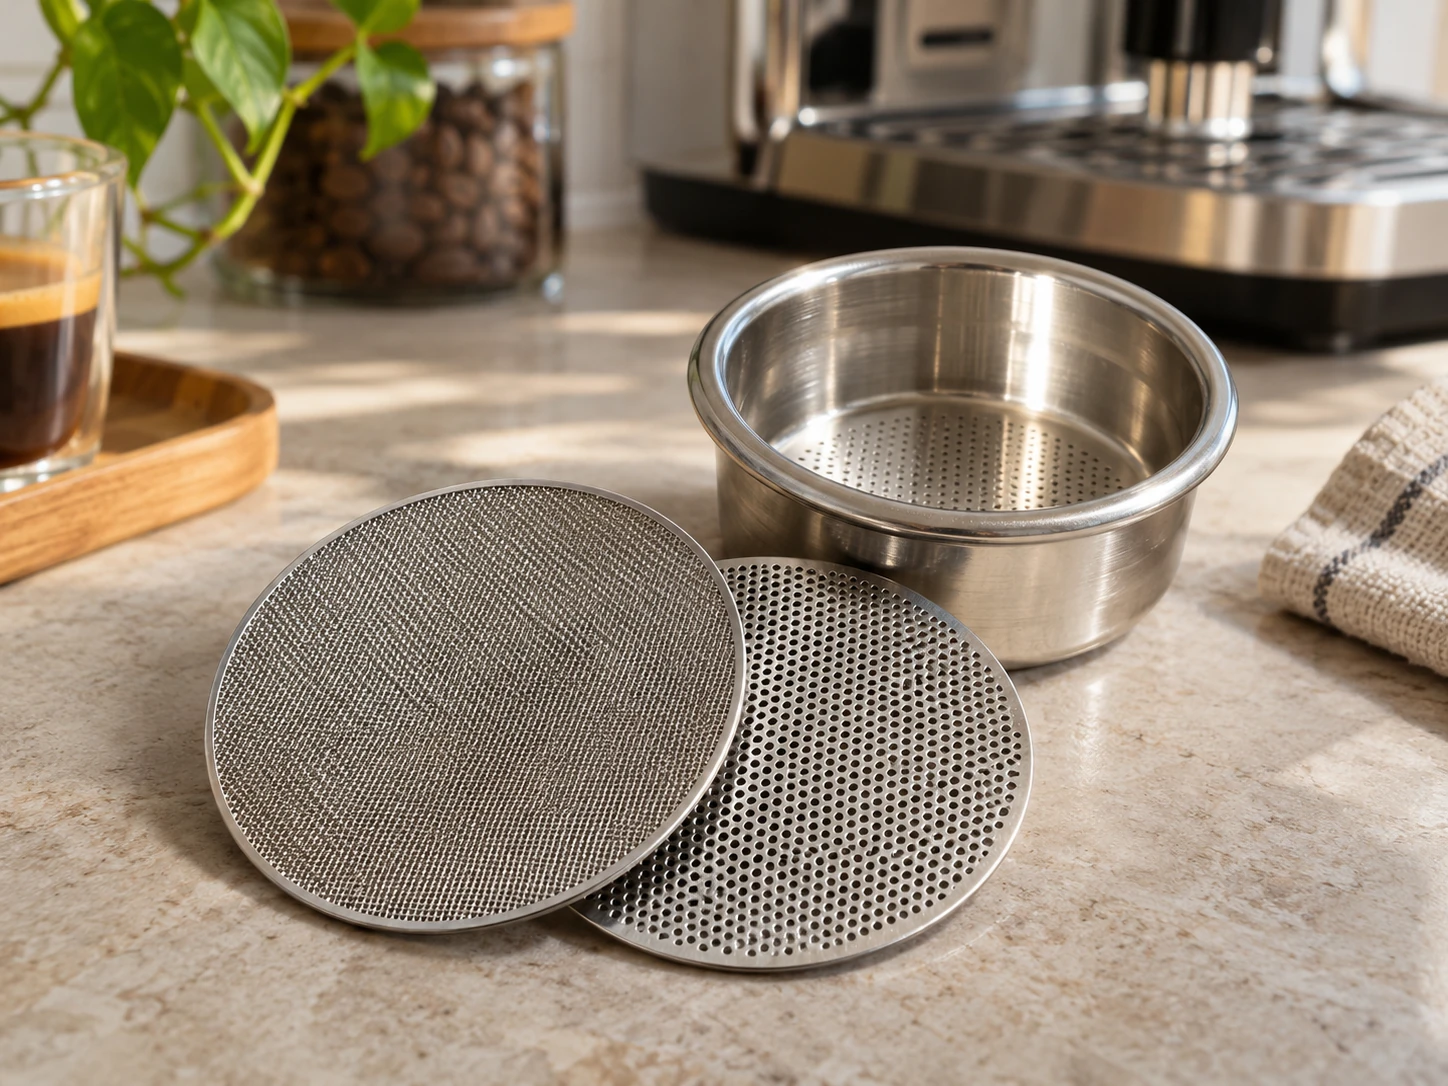
If your puck screen comes out dented in the center or your shot channels unpredictably after adding a 1.7mm sintered screen, insufficient basket headspace or a protruding center dispersion screw is the culprit.
Quick Picks
Verified components referenced in this technical guide.
Key Takeaways
- A 1.7mm sintered steel puck screen occupies roughly the same basket headspace volume as 0.8g–1.0g of ground coffee.
- Center dents in 58.5mm puck screens are caused by protruding dispersion screws on machines like the Rancilio Silvia V6 and Gaggia Classic Pro.
- Reduce your dry coffee dose by 0.5g–1.0g or install a countersunk flat shower screen screw to maintain 2mm expansion clearance.
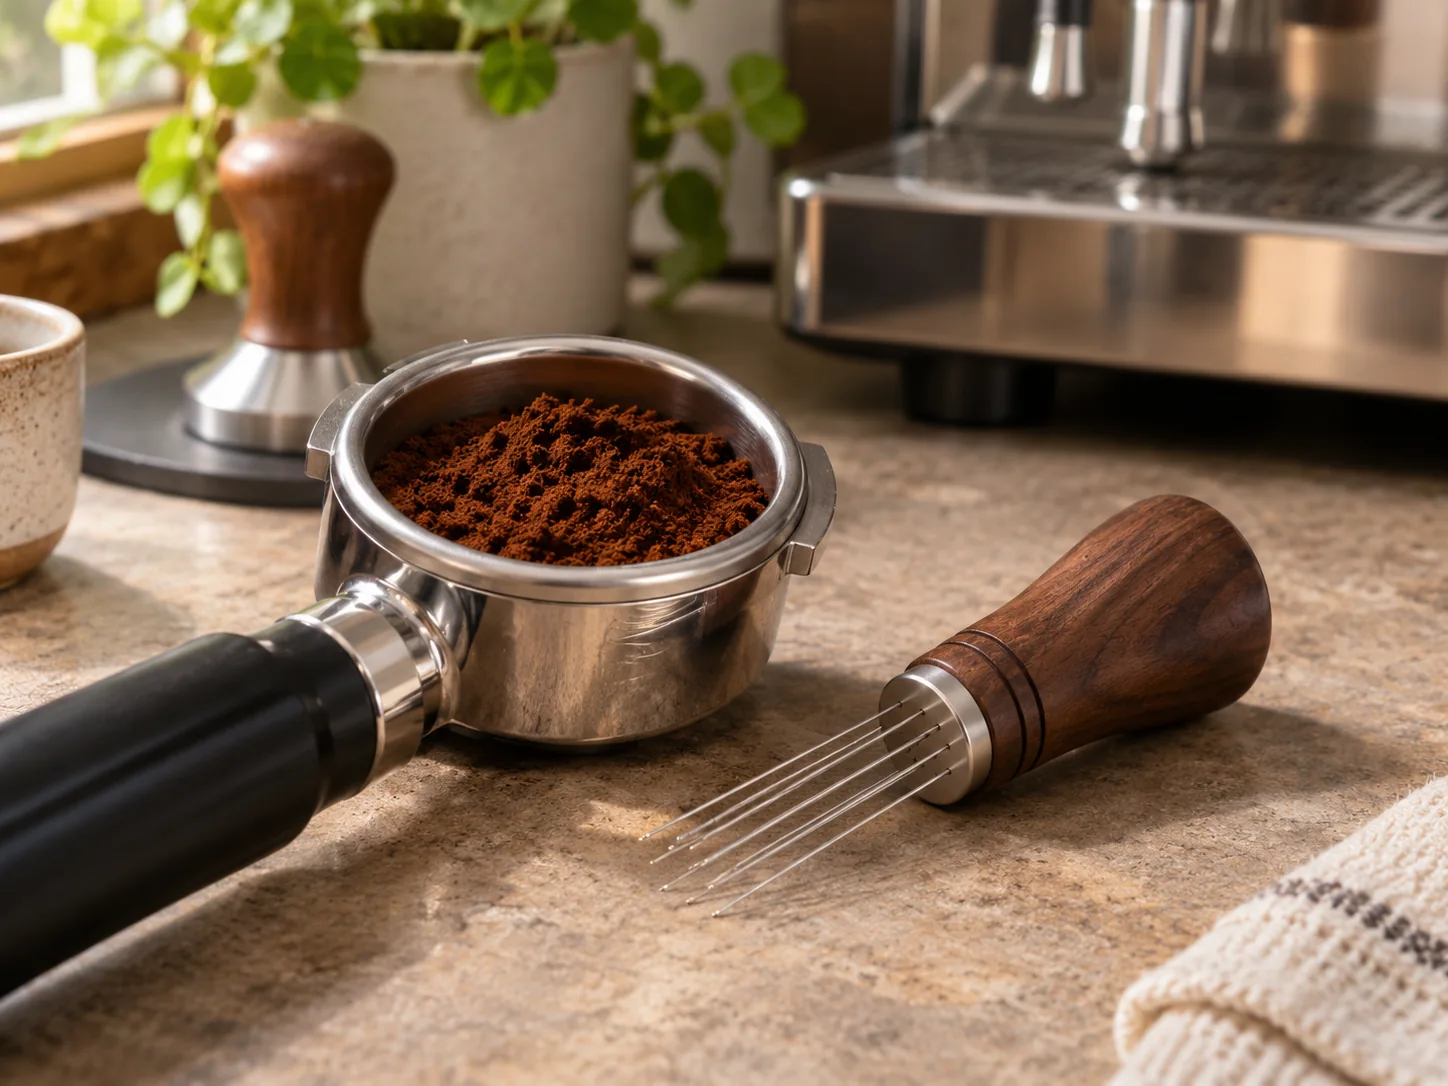
- Always level and declump the coffee bed with a 0.35mm WDT tool before tamping so the puck screen sits completely flat.
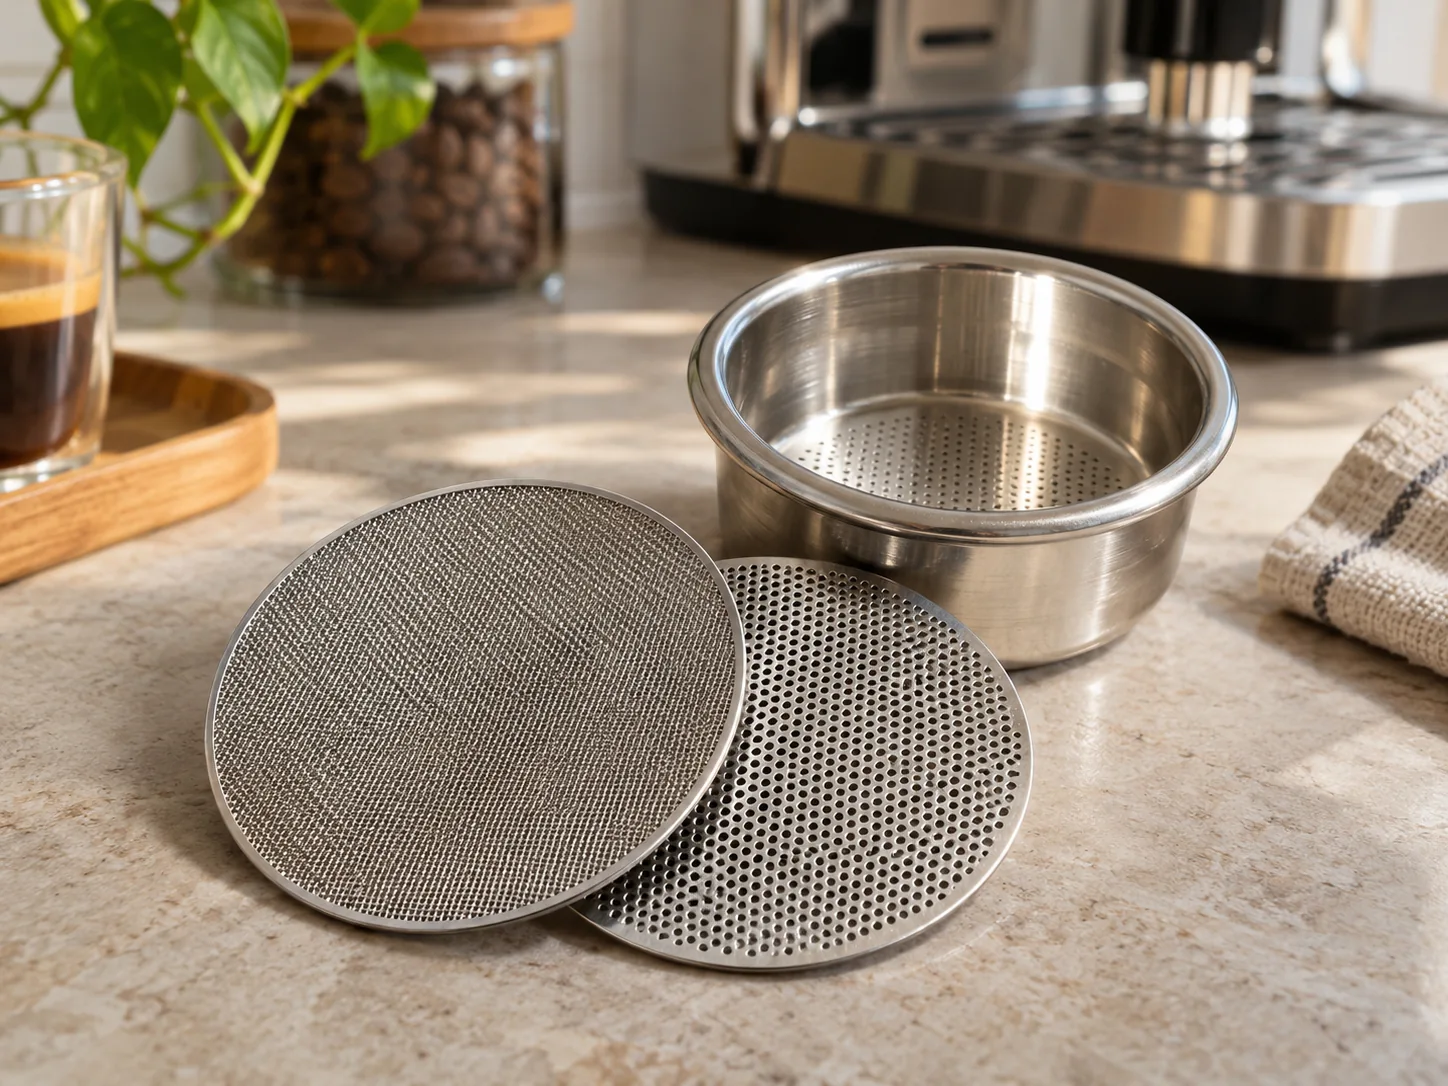
Sintered stainless steel puck screens (1.7mm thickness) keep the shower screen clean and distribute incoming water evenly across the coffee bed. However, adding a rigid 1.7mm steel disc on top of your tamped coffee reduces available vertical headspace inside the filter basket.
Symptom 1: A Dish-Shaped Dent in the Center of the Puck Screen
When you knock out your spent puck and notice a concave dent in the middle of your 58.5mm puck screen, the screen is colliding with the center dispersion screw before or during puck expansion.
Machines Most Affected
- Rancilio Silvia V6: The factory hex-head dispersion screw protrudes approximately
1.6mmbelow the shower screen face. - Gaggia Classic Pro (RI9380): The center screw sits slightly proud of the perforated shower plate.
- Breville / Sage 54mm Series: Uses a countersunk screw, making central screw dents much less common unless the basket is severely overdosed.
How to Fix Headspace Collisions
- Reduce Your Dry Dose by 0.5g to 1.0g: A
1.7mmpuck screen occupies roughly the same volume as1.0gof ground coffee. Lowering an18.0gdose to17.0grestores the2.0mmexpansion gap needed below the screw. - Perform the Coin / Razor Check: Before placing the puck screen, lock the tamped portafilter in with a clean
2mmnickel or use the Breville Razor tool. If the bare puck touches the shower screen dry, there is zero room for a1.7mmpuck screen. - Combine WDT Before Tamping: Use a fine
0.35mmWDT tool to level the bed before tamping so the puck screen sits dead-flat rather than tilting toward one wall.
Verified Espresso Machines Covered in This Guide
Inspect caliper-verified group head dimensions, locking ear profiles, and full compatibility matrices for each model.
Breville Barista Express
Tamper: 53.3mm – 53.4mm • 3 symmetrical locking ears
Gaggia Classic Pro / Evo Pro
Tamper: 58.4mm – 58.5mm (with precision baskets) / 58.0mm (stock basket) • 2 diagonal locking ears
Rancilio Silvia M V6
Tamper: 58.4mm – 58.5mm (precision baskets) / 58.0mm (stock basket) • 2 horizontal locking ears
Editorially Referenced Accessories
Hardware components specifically tested and verified for compatibility in this guide.
Ultra-Slim Sintered Contact Puck Screen
53.3mm Diameter • 1.7mm Thickness • 150µm Mesh
Ultra-Slim Sintered Contact Puck Screen
58.5mm Diameter • 1.7mm Thickness • 150µm Mesh
Flick Retractable WDT Espresso Distribution Tool
6x 0.35mm Rounded Stainless Needles (Universal Basket Fit)
Related Guides & Comparisons
In-depth guides and comparisons to help you make the right accessory choices.

3-Way Solenoid Valves & Backflushing Compatibility: Which Espresso Machines Can Use Blind Baskets?
Backflushing with a blind basket and detergent requires a 3-way solenoid valve to vent pressure into the drip tray. Using a blind disc on a non-solenoid machine can damage the pump or group seal.
IMS & VST Precision Filter Basket Sizing Guide: Height Codes and Portafilter Clearance
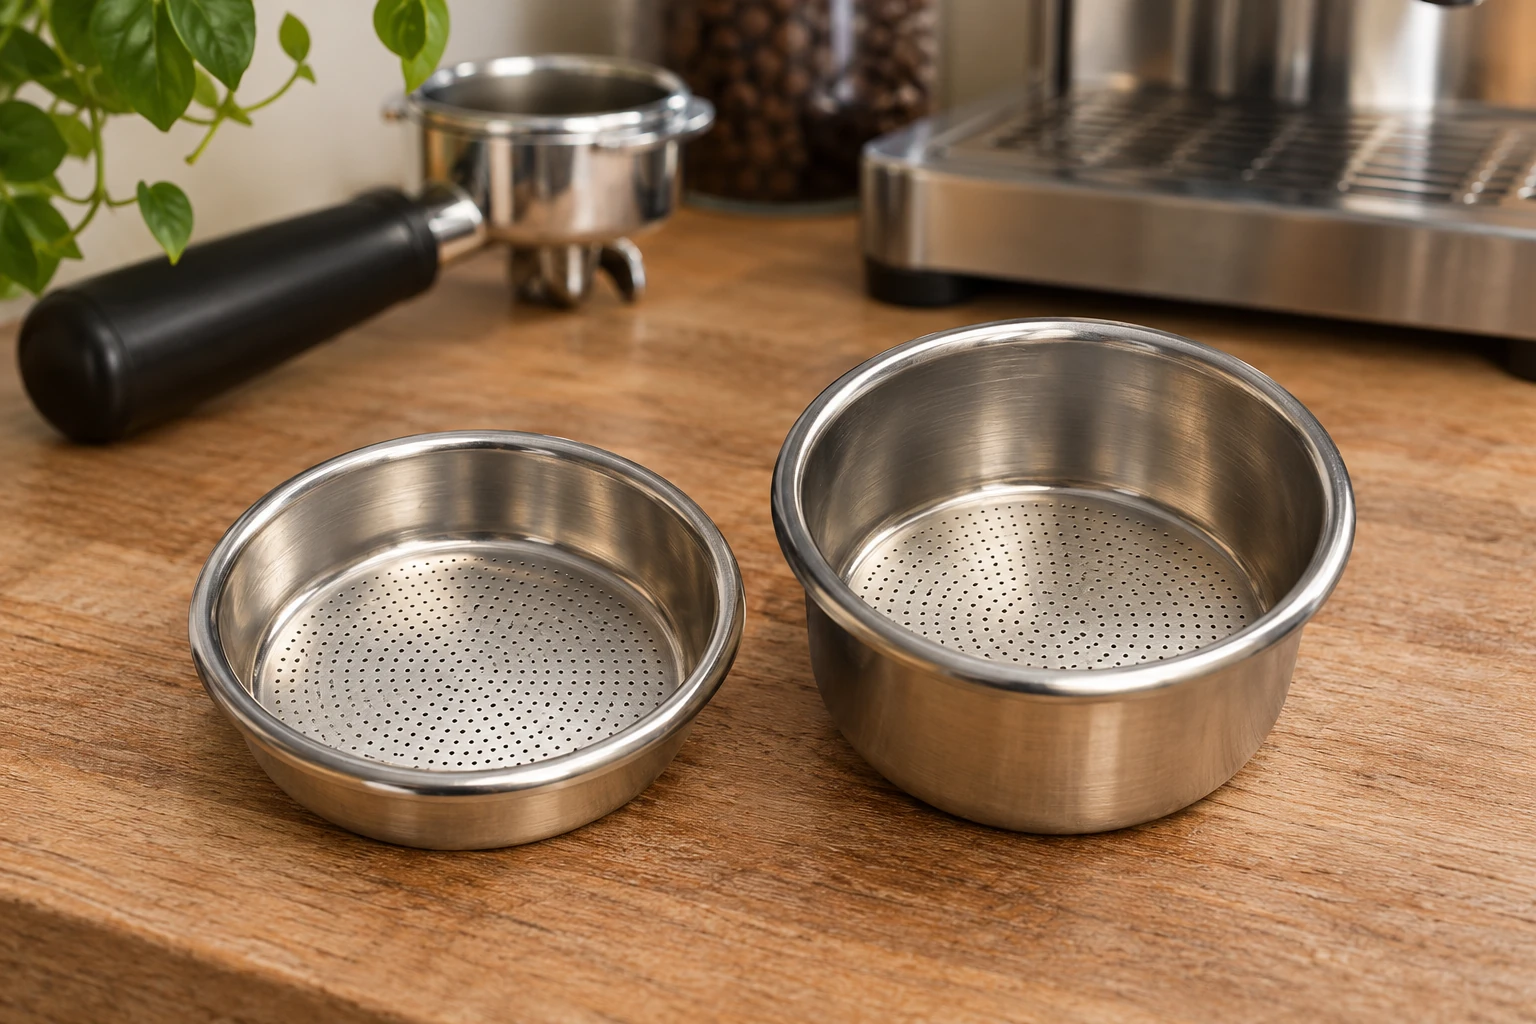
How to decode IMS and VST part numbers—including outer rim diameter, height codes (H24, H26, H28), and when a deep basket requires a bottomless portafilter.
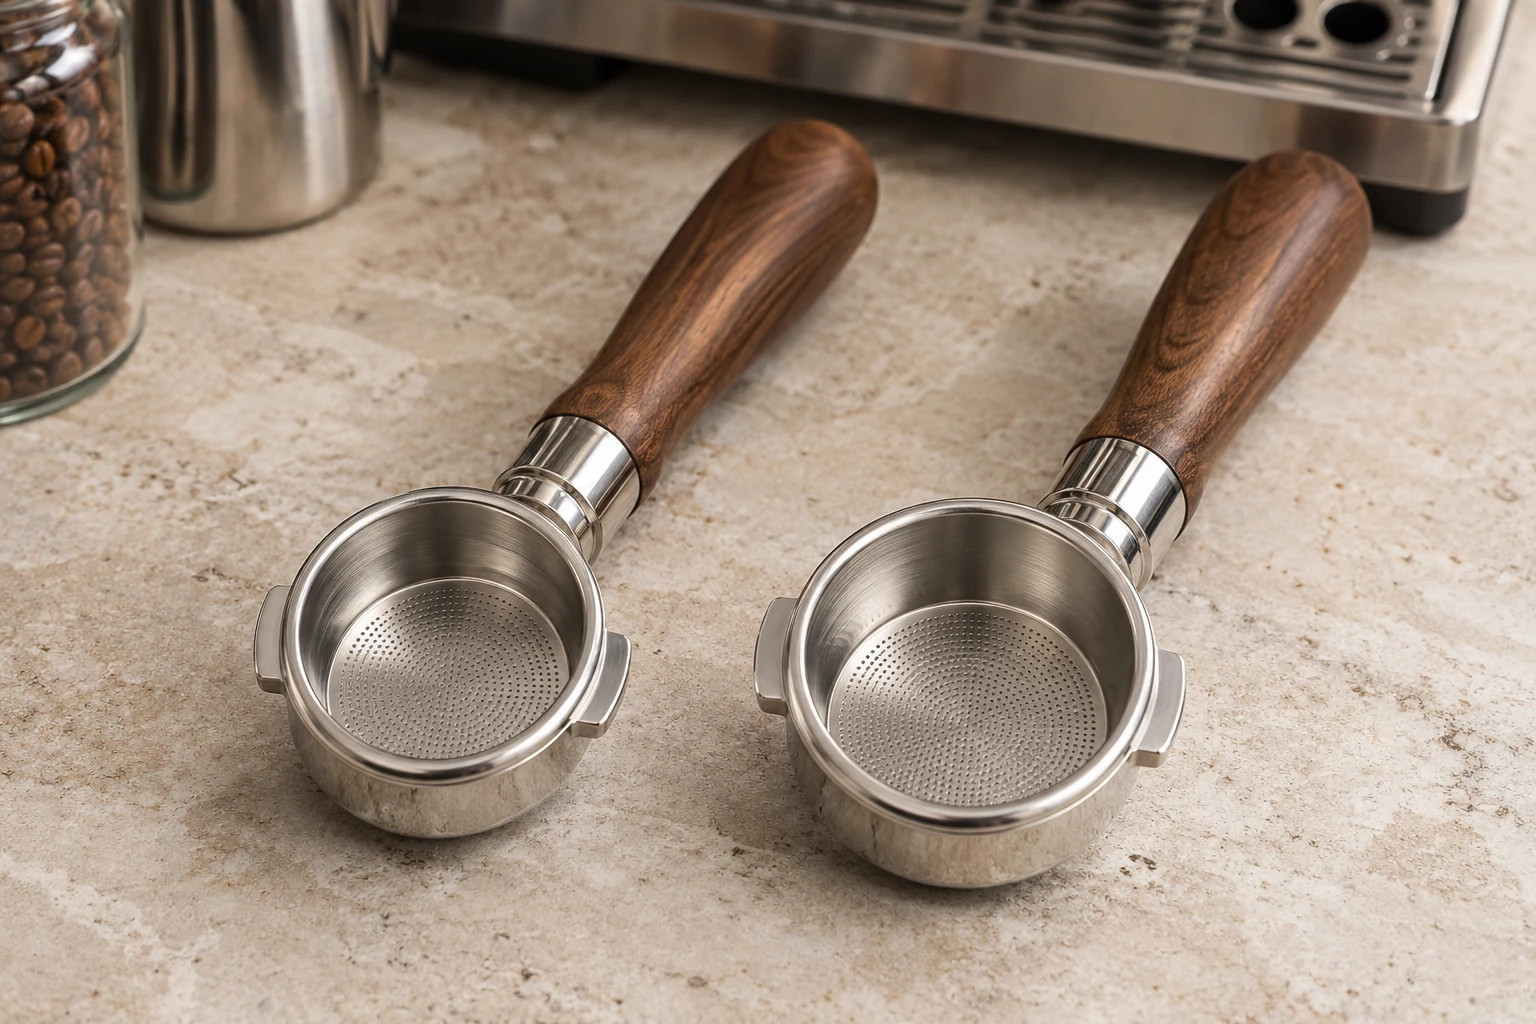
Why Standard E61 58mm Portafilters Do Not Fit the Gaggia Classic Pro
Although Gaggia Classic Pro and E61 machines share the same 58mm filter baskets and 58.5mm tampers, Gaggia's 45-degree diagonal locking ears will not accept a standard horizontal E61 portafilter.